Know your enemy
For a maker designing, experimenting and creating is like a Spartan going to war: you feel born for it, you live for it, you would like to do just that.

A Maker is like a Spartan
But as Sun Tzu said: know your enemy and know yourself. Years of experience have taught me that before starting to design, draw, weld and assemble, it is always a good idea to understand what you are up against. Understanding which problems you know how to solve and which problems, on the other hand, require theoretical and practical study before arriving at an intelligent solution makes the difference between a successfully completed project and a project left in the middle out of frustration.
The right project

Me evaluating an open source project
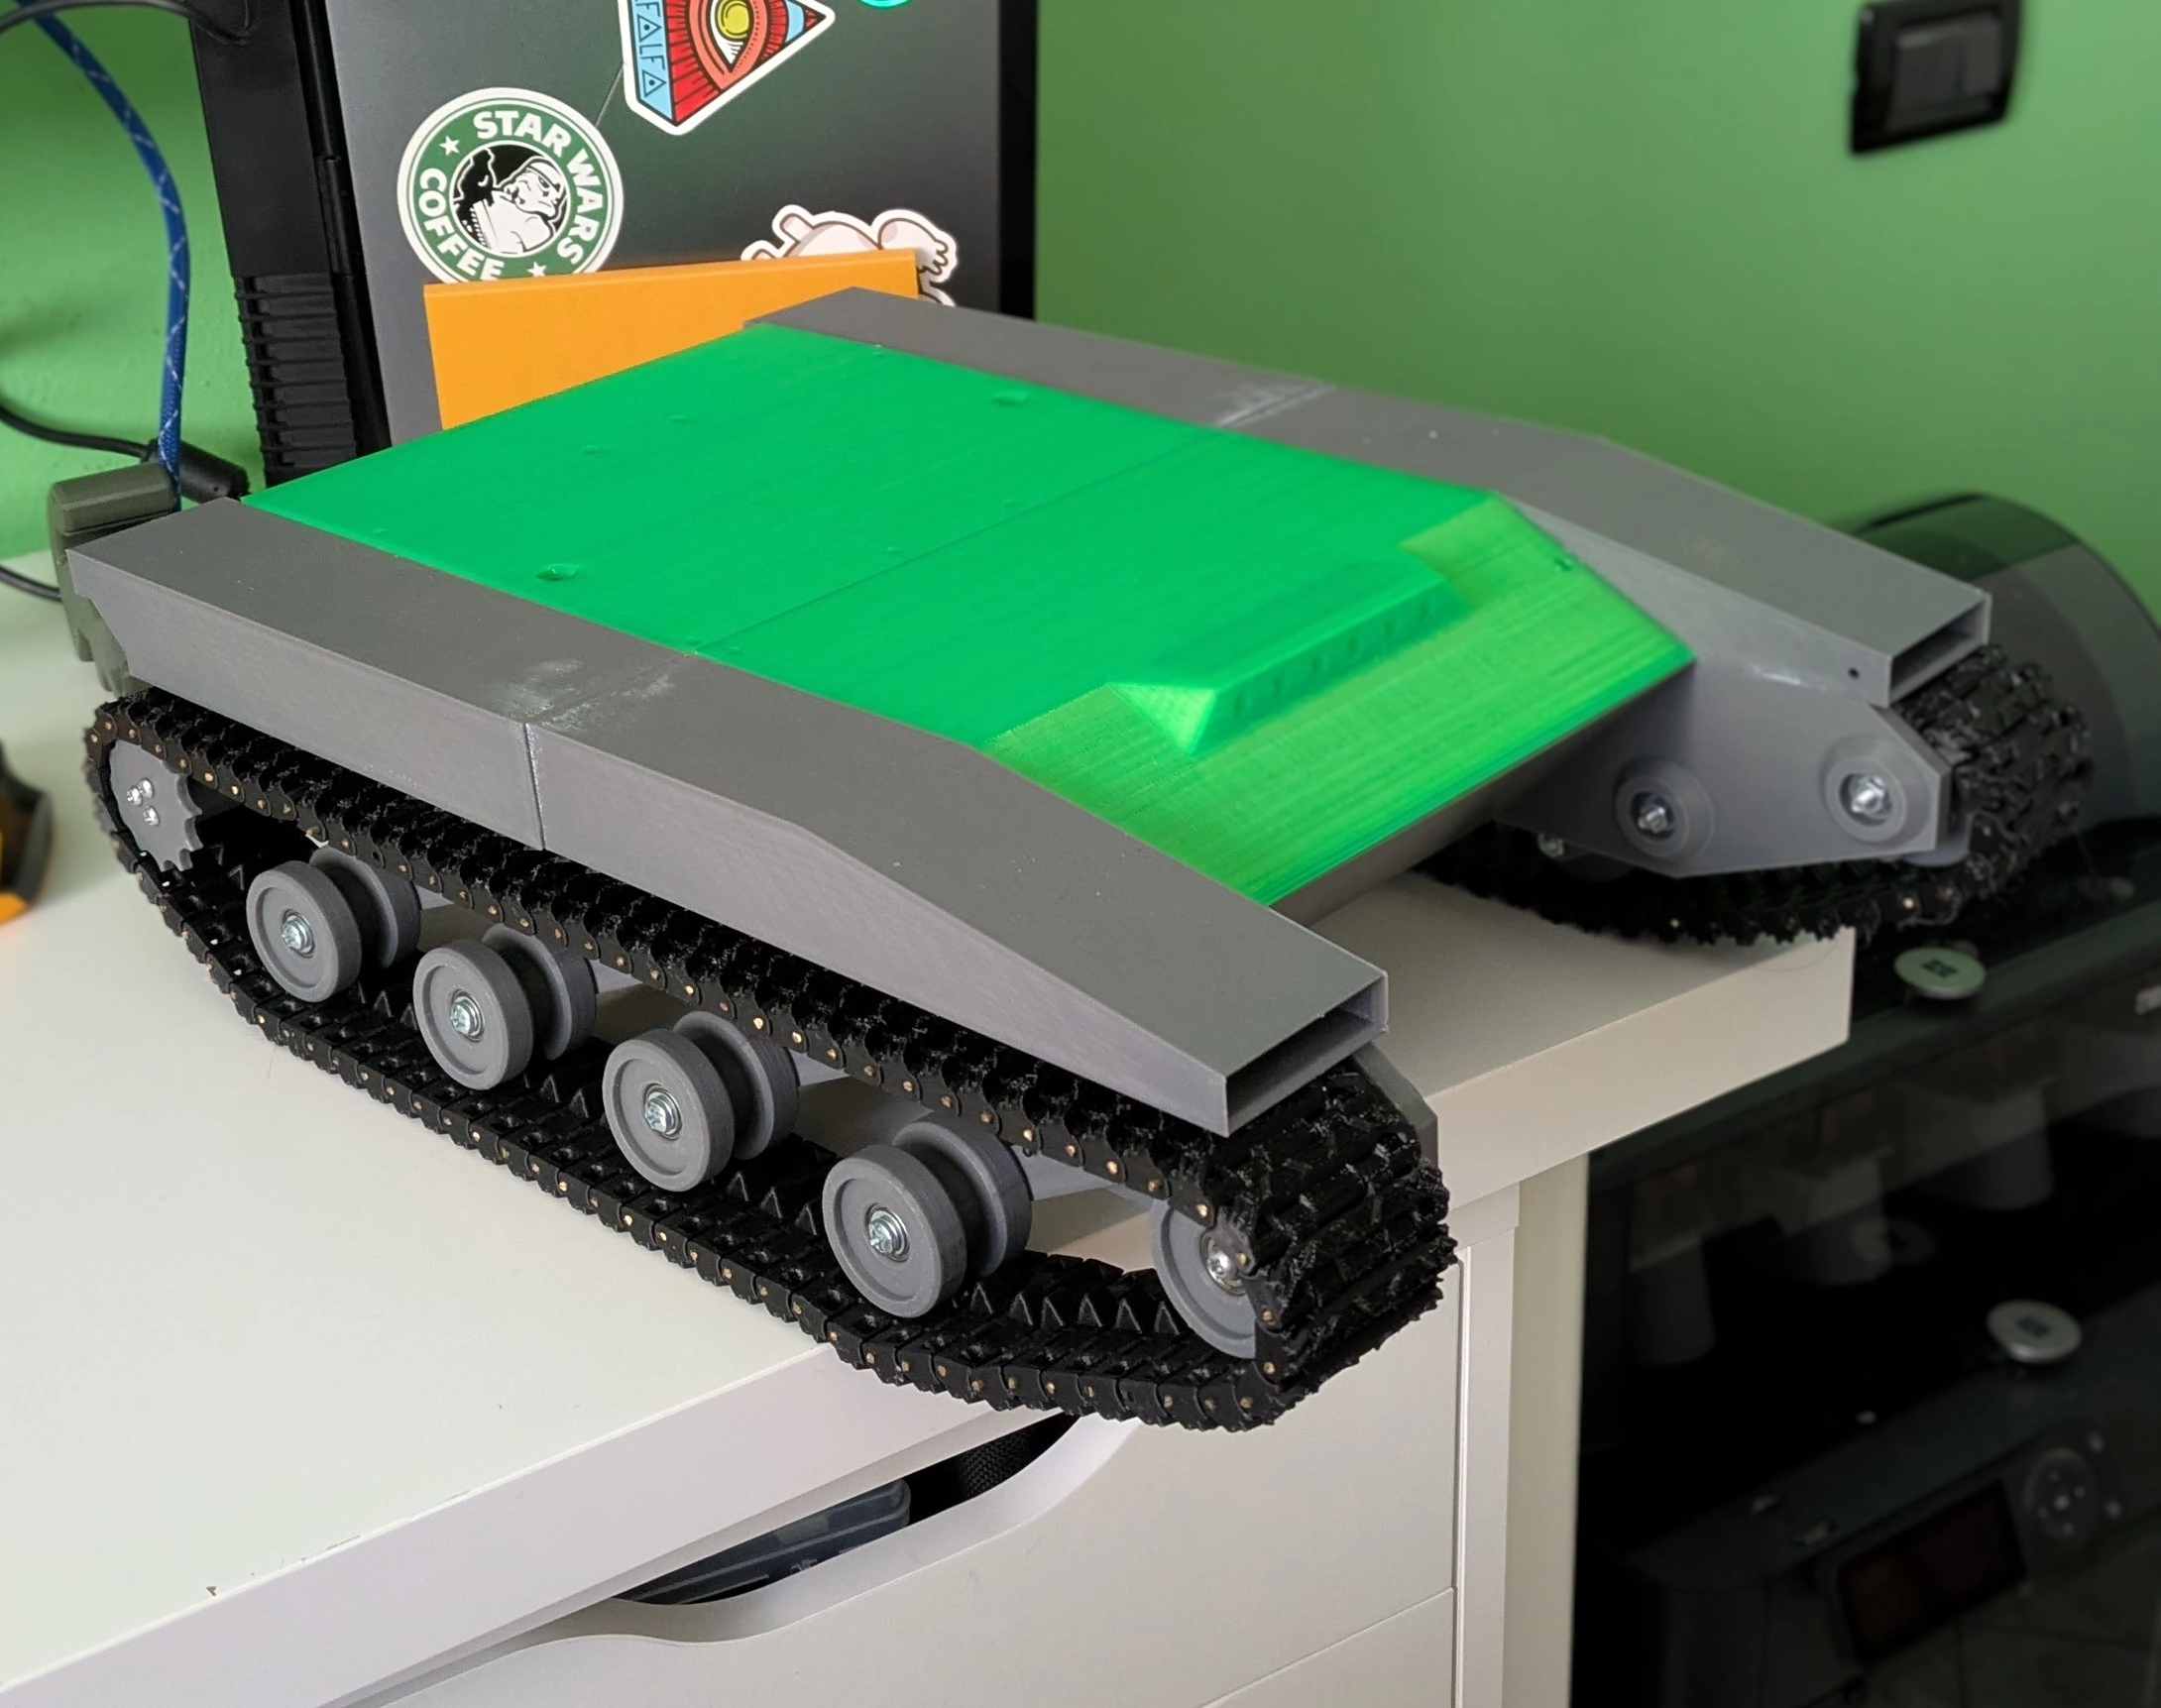
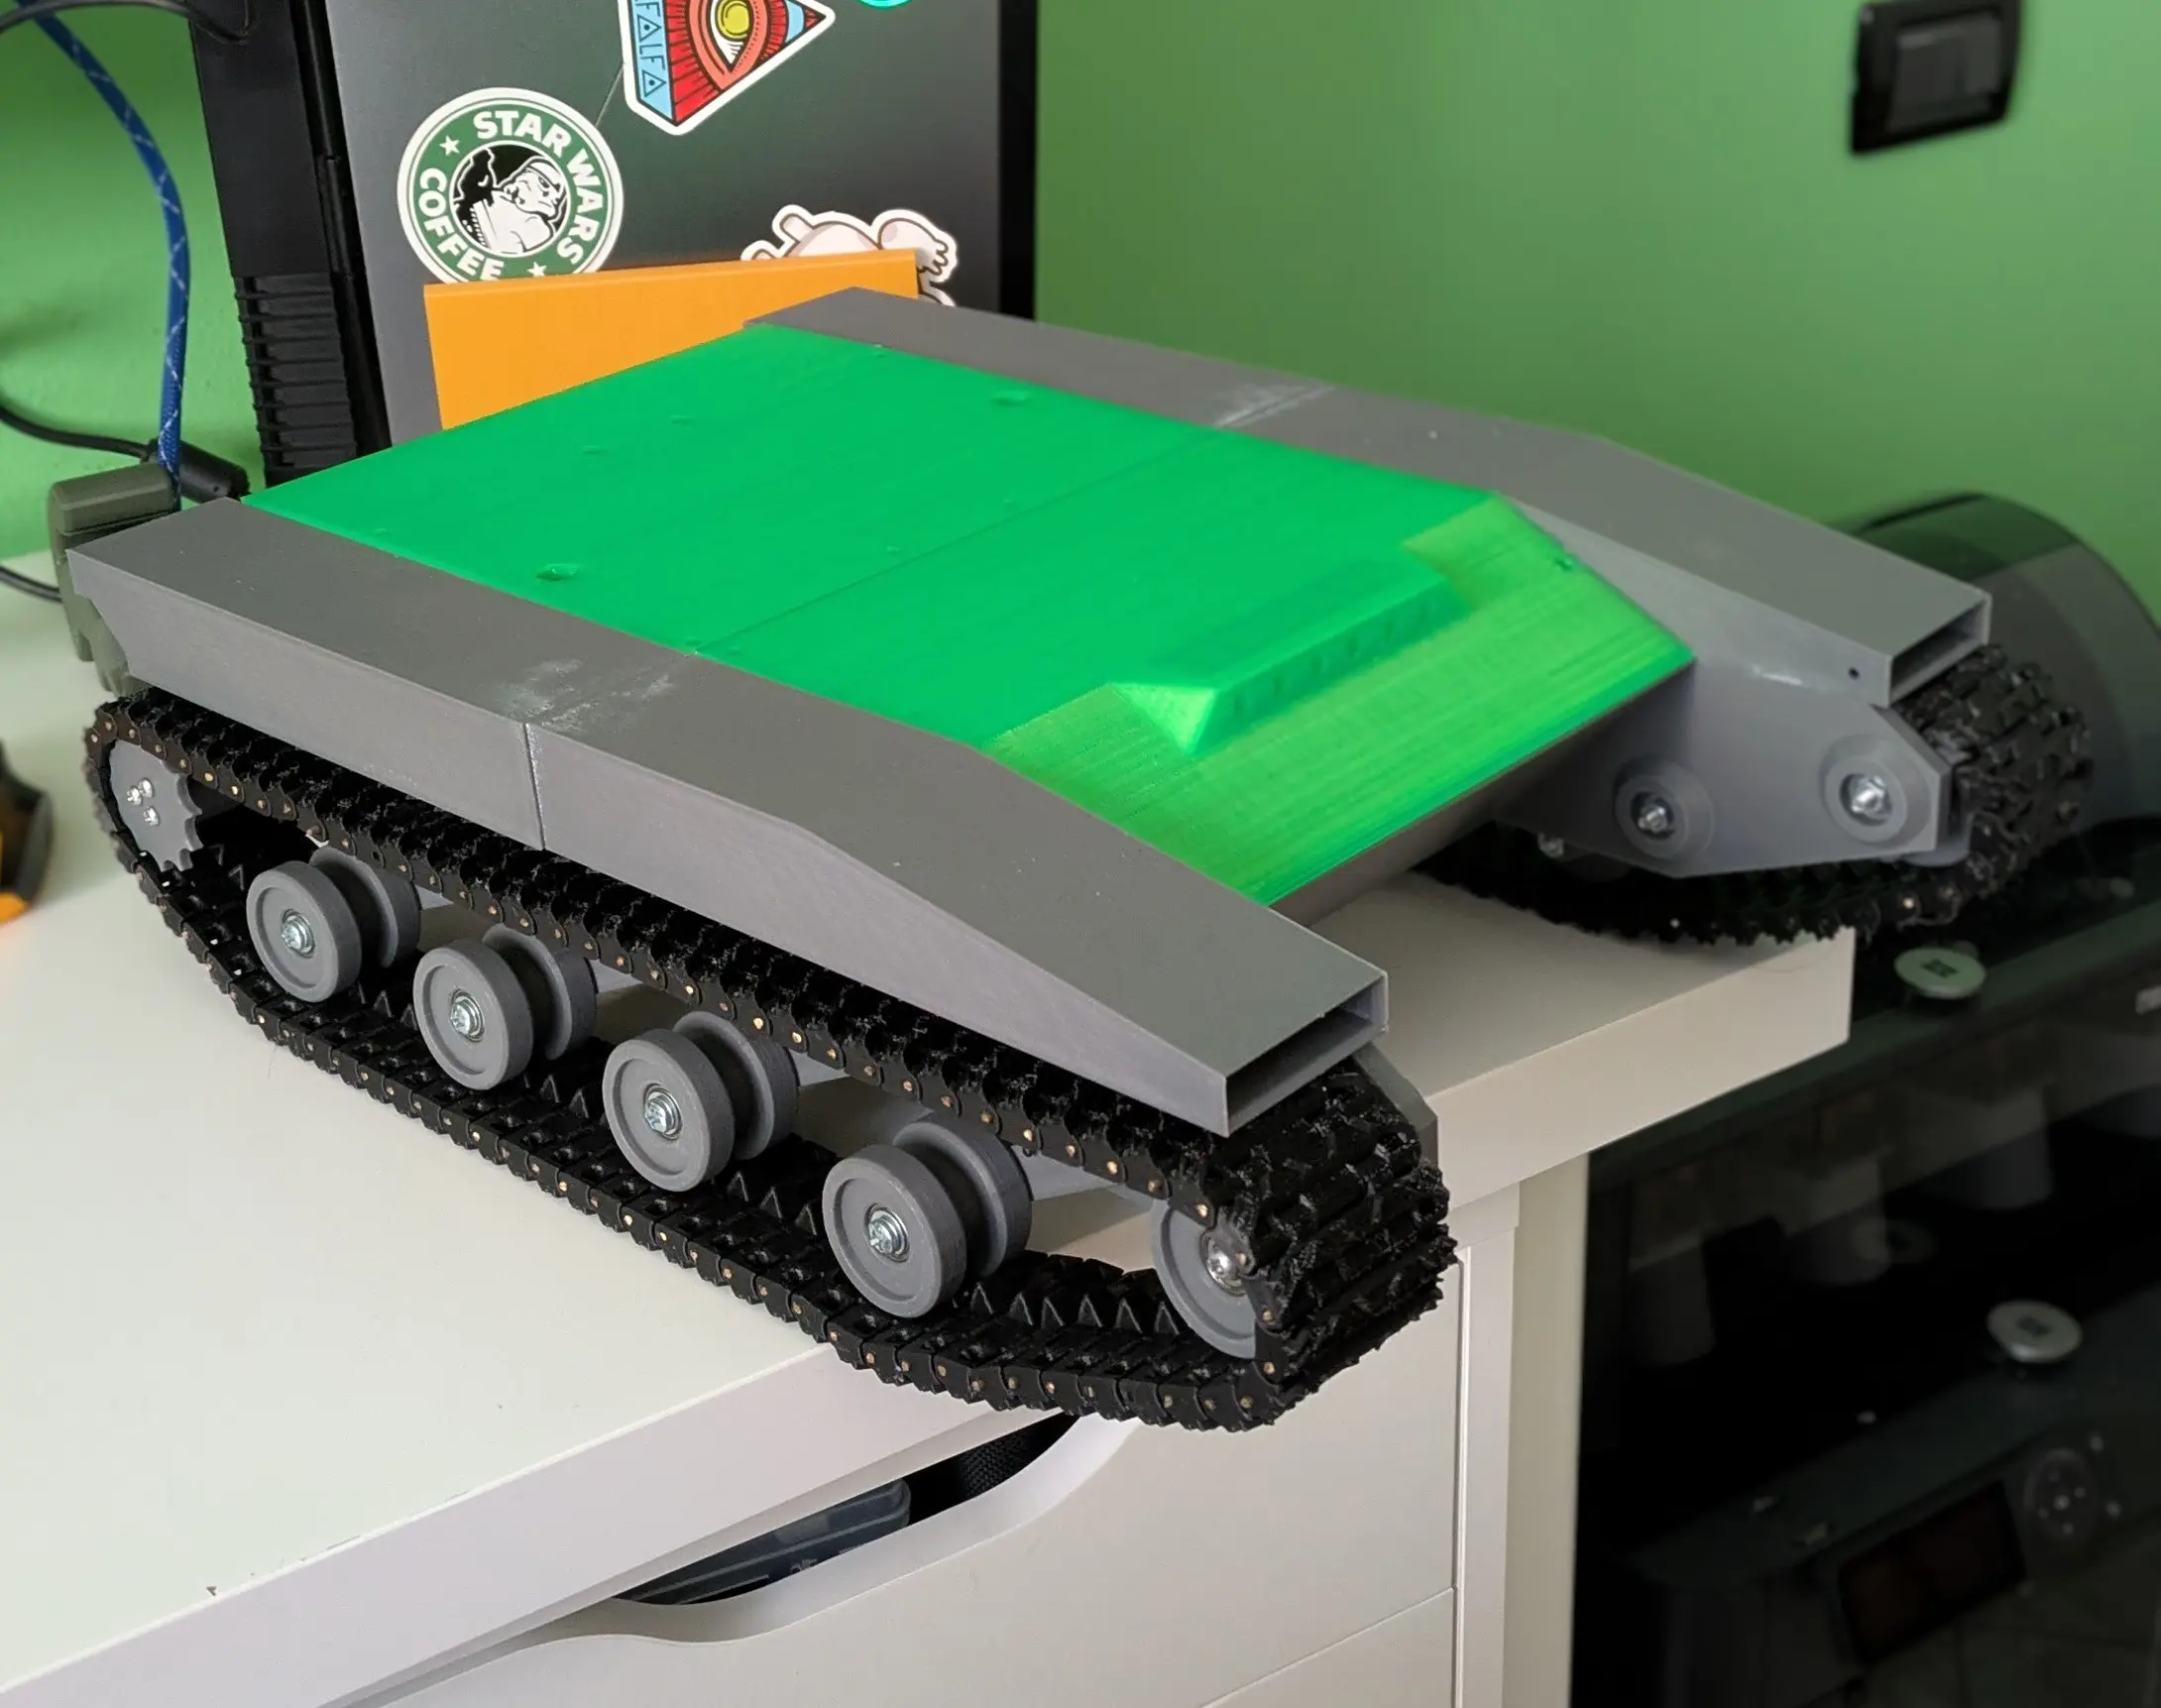
Before I set out to design Giustino, I asked myself, “In which of the many parts of this project do I have gaps that I need to fill?” The answer was simple: mechanics and 3D printing. I have always drawn in CAD and 3D printed, but never for such a project. In addition, I had just bought a Creality K1C and had not yet tested its full potential. With these ideas in mind I set out to find a project to 3D print and found this.
For the printing and assembly part follow his guide, from here on I will focus on the electronic modifications I made.
Circuit modifications
For the electronic part, I decided to make some substantial changes to the original design so that I could meet the following guidelines:
-
Minimum expense maximum output: this is a test project, so you have to do as much as possible with what you have at home.
-
Rapid prototyping: the focus is on mechanics, so the electronics and related software must be developed as quickly as possible.
-
Giustino-oriented: a small part of what is developed with this prototype must be reused for the real project.
From these premises I devised the block diagram below:
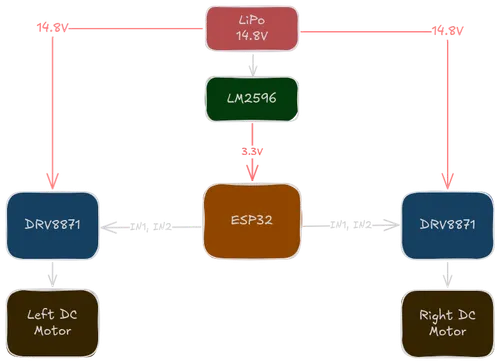
The ideas behind the project are:
-
Use a microcontroller from the ESP32 family with Arduino to speed up development time.
-
Use where possible already made shields to connect them together without making any pcb.
-
Use a PS4 controller to send commands via Bluetooth to an ESP32, to which simple DRV8871 DC motor drivers are connected.
-
Control logic on the motors simple and minimal.
The wiring diagram
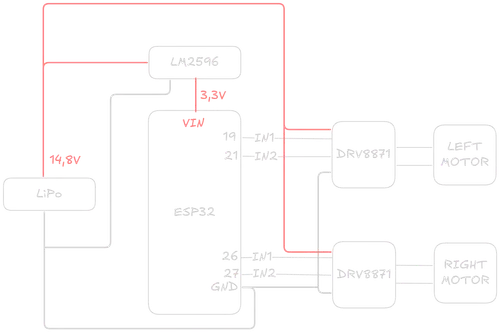
The wiring diagram is very simple, it uses all shields connected together. You only need to pay attention to a couple of things:
-
Adjust LM2596 to have 3.3V output so as not to ruin ESP32.
-
Connect all grounds together.
-
Plug the DRV8871 power supply into the dedicated Power Motor terminal instead of the VM pin.
The code
You can find the code here on Github. For the PS4 controller I used the bluepad library. You can follow the wiki for setup the project in Arduino.
Important Note: To connect the PS4 controller to ESP32 for the first time, press the share + PS buttons simultaneously until the controller turns on and the LED starts flashing. When it turns steady, the pairing was successful.
Assembly and first testing
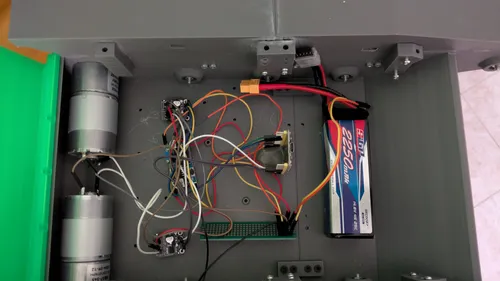
The assembly is not the best or even the neatest, but it achieves its purpose perfectly.
After some difficulty connecting the controller I finally managed to get the tank started. You can see my trusty assistant Jordan very unconvinced in front of the advancing tank.
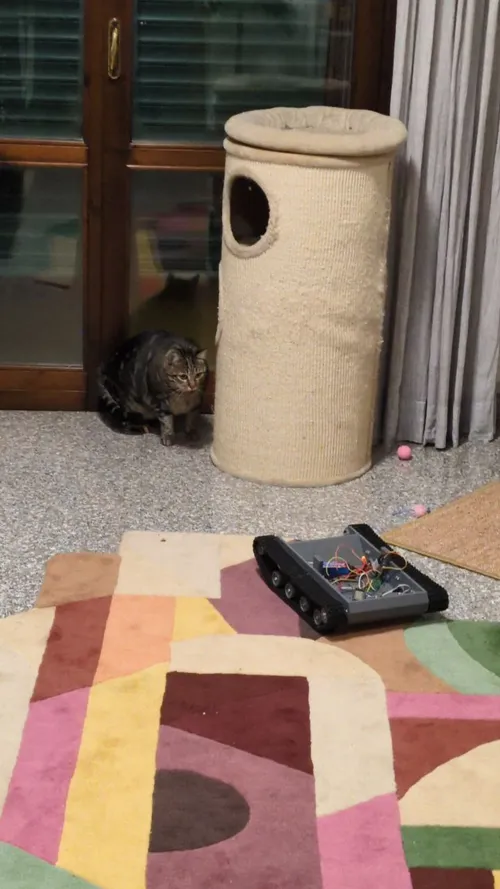
It is not very fast, makes a little too much noise, and the rotation around the axis to curve is definitely improvable. All in all, however, the design worked right the first time and without too much difficulty. A success!
What I learned
This project allowed me to understand many things about the challenges I will face in creating Giustino.
It will be a long journey
Even though the K1C is an unstoppable and extremely fast Soviet tank, printing a model of this size took days (66 hours or so) so Giustino will require weeks of printing.
Finding the right materials
The choice of materials will be crucial-I will have to experiment with different types of materials before I find the right way.
Giustino how much you cost me
Here are some numbers:
-
Cost for electronic material: 112 Euro;
-
Cost of 3D printed material: 24 Euro;
-
Machine cost: 15 Euro.
Considering that this project is a little game compared to the real Giustino, cost will be a factor to keep in mind. The maker in me sometimes forgets this small detail. Fortunately D reminds me of it often 😀.
The most important lesson
But the most important lesson of all is surely this: watch your tolerances. Despite the excellent mechanical design and instructions on how to print all the various parts, I struggled not a little with fitting and screwing in some parts of the tank. Certainly this will be a crucial factor in the design and will be the source of countless unsympathetic epithets.
Then again, as the Patriarch always says, “Mechanics are unforgiving.”
← Back to blog